Pradeep Kumar
Firebase Push Notification In React Native
Last updated  February 24, 2022
 In this post, we’ll learn how to integrate push notifications in React Native apps using Firebase. and send notifications with help of firebase and handle them in the Android.
Why Push Notifications?
Push notifications are the first and often most important communications channel used by apps. Nearly every major apps use push notifications for transactions and re-engagement.
In today’s scenario, users have a hard time remembering what apps they even have on their devices. Push notifications help these services deliver timely and relevant information to users, and in doing so, stay top of mind.
What is Firebase?
Firebase is a platform developed by Google for creating mobile and web applications, it’s a Backend-as-a-Service (Baas). It provides developers with a variety of tools and services to help them develop quality apps, grows their user base, and earn profit. It is built on Google’s infrastructure.
Structure of content
- Create a Firebase project
- Install dependencies for Push notification
- Build the app on Android
- handle the push notification on the foreground
- Send Push Notifications from FCM
Step 1: Create a New Firebase Project
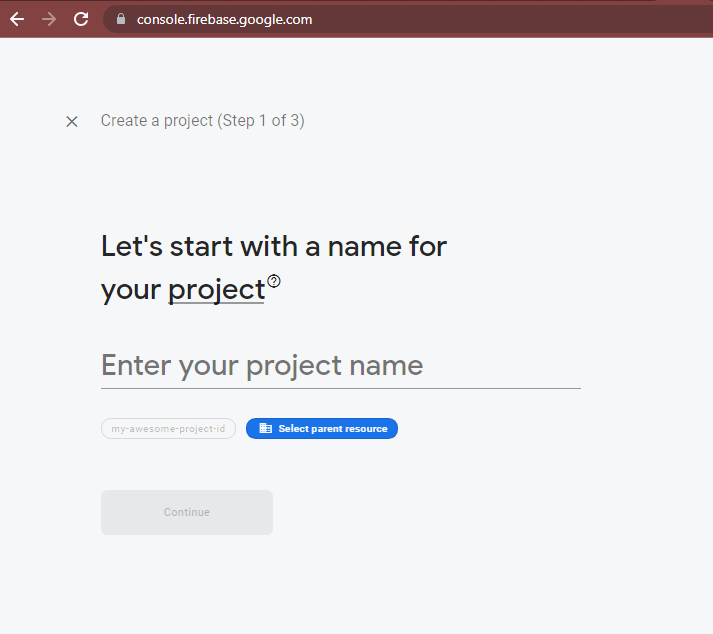
For the integration of push notification, we need to create a firebase project first Click on Add project to create a project

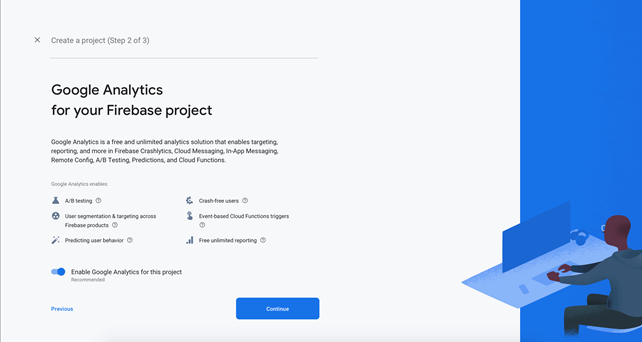
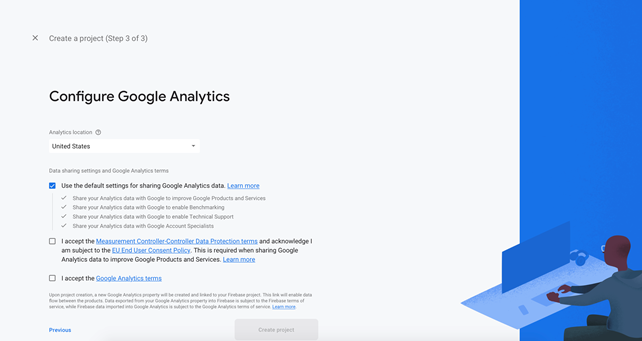
When you click on Add Project Button it will ask you for your project name, fill your project name in the project name input box, accept their terms and condition and click on Create Project button


we need to create an Android app on Firebase. For that, we need a package name and certificate SHA-1 from our app
We can get the package name in android\app\src\main\AndroidManifest.xml
To Get SHA-1 for Windows:-
First, locate your JDK’s bin folder on your windows pc.
C:\Program Files\Java\jdk1.8.0_131\bin
Then open Command Prompt as Administrator mode on the same path and enter the command
keytool -genkeypair -v -storetype PKCS12 -keystore debug.keystore -alias androiddebugkey -keyalg RSA -keysize 2048 -validity 10000
enter the store password: android
then enter this command
keytool -keystore debug.keystore -list -v
then you get the SHA-1 key copy it and paste it into firebase
copy a debug.keystore file from java bin and paste it into android/app
Register the app
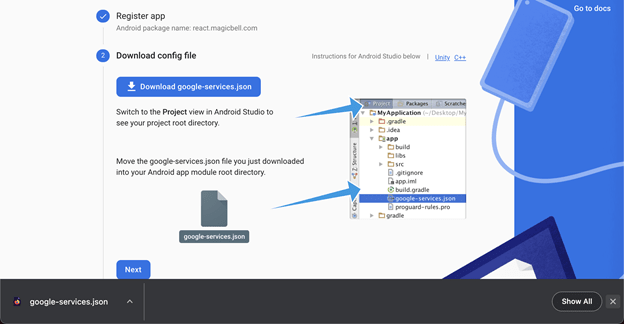
download the google-services.json file paste it into android/app
Step 2. Install dependencies for Push notification
Installation
This module requires that the @react-native-firebase/app module is already setup and installed. To install the “app” module,
# Install & setup the app module npm install –save @react-native-firebase/app
# Install the messaging module npm i @react-native firebase/messaging
For Android:
- first, add the google-services plugin as a dependency inside your /android/build.gradle file.
buildscript {
dependencies {
// … other dependencies
classpath ‘com.google.gms:google-services:4.3.10’
// Add me — /\
}
}
- Lastly, execute the plugin by adding the following to your /android/app/build.gradle file:
apply plugin: ‘com.android.application’ apply plugin: ‘com.google.gms.google-services’ // <- Add this line
Step 3. Build the app on Android
Firebase Cloud Messaging
Firebase Cloud Messaging (FCM) is a cross-platform messaging solution that allows you to send messages reliably for free. Type of notifications Firebase Cloud Messaging will help you send messages to all real iOS and Android devices. The message that will be displayed in the app will depend on the action.
There are three types of notifications: Foreground, Background, and Quit. Depending on the state, the application will display a certain message.
- Foreground: When the application is open and in view.
- Background: When the application is open in the background (minimized). This typically occurs when the user has pressed the “home” button on the device or when they have switched to another app via the app switcher.
- Quit: When the device is locked, or the application is not active or running. The user can quit an app by “swiping it away” via the app switcher UI on the device.
useEffect(() => {
messaging().setBackgroundMessageHandler(async remoteMessage => {
console.log(‘Message handled in the background!’, remoteMessage);
})
const unsubscribe = messaging().onMessage(async remoteMessage => {
Alert.alert(‘A new FCM message arrived!’, JSON.stringify(remoteMessage));
console.log(remoteMessage)
});
return unsubscribe;
}, []);
To get FCM token :
const checkToken = async () => {
const fcmToken = await messaging().getToken();
if (fcmToken) {
console.log(fcmToken);
Alert.alert(fcmToken);
}}
Step 4. handle the push notification on the foreground
Foreground state messages
- By default, rnfirebase does not support displaying notification popup when the app is in foreground state as they mentioned here. So push notification pop up only displayed when the app is in the background state or closed.
So if you want to display push notifications on foreground mode also then you have to use the extra library which will be display fired push notifications as local notifications as mentioned in their documentation.
If the RemoteMessage payload contains a notification property when sent to the onMessage handler, the device will not show any notification to the user. Instead, you could trigger a local notification or update the in-app UI to signal a new notification.
So as a solution you can use react-native-push-notification to fire push notification when the app is in the foreground.
To do so, just install it by command :
npm i react-native-push-notification
For android, you don’t need to follow any native installation steps just install the library by this command and then you can fire local push notification as below:
Create a file called NotificationController.android.js :
import React, { useEffect } from ‘react’;
import { Alert } from ‘react-native’;
import messaging from ‘@react-native-firebase/messaging’;
import PushNotification from ‘react-native-push-notification’;
PushNotification.createChannel({
channelId: “channel-id”, // (required)
channelName: “My channel”, // (required)
channelDescription: “A channel to categorise your notifications”, // (optional) default: undefined.
playSound: false, // (optional) default: true
soundName: “default”, // (optional) See `soundName` parameter of `localNotification` function
importance: 4, // (optional) default: 4. Int value of the Android notification importance
vibrate: true, // (optional) default: true. Creates the default vibration patten if true.
},
(created) => console.log(`createChannel returned ‘${created}’`) // (optional) callback returns whether the channel was created, false means it already existed.
);
const NotificationController = (props) => {
useEffect(() => {
// PushNotification.getChannels(function (channel_ids) {
// console.log(channel_ids); // [‘channel_id_1’]
// });
const unsubscribe = messaging().onMessage(async (remoteMessage) => {
PushNotification.localNotification({
message: remoteMessage.notification.body,
title: remoteMessage.notification.title,
bigPictureUrl: remoteMessage.notification.android.imageUrl,
smallIcon: remoteMessage.notification.android.imageUrl,
// channelId: remoteMessage.notification.android.channelId,
channelId: true,
vibrate: true,
});
});
return unsubscribe;
}, []);
return null;
};
export default NotificationController;
Now, call in your Home Screen or App initial routing file.
For example:-
<View style={styles.Container}> <NotificationController /> <Text style={styles.paragraph}> Push Notification With Firebasse Demo </Text> </View>
Now, when the app is in the foreground state and if onMessage receives any message from firebase then PushNotification will fire local notification.
Source code:
import React, { useEffect } from ‘react’;
import { View, Text, Button, StyleSheet } from “react-native”;
import { Alert } from ‘react-native’;
import messaging from ‘@react-native-firebase/messaging’;
import NotificationController from ‘./NotificationController.android’;
const Pushnotification = () => {
useEffect(() => {
messaging().setBackgroundMessageHandler(async remoteMessage => {
// console.log(‘Message handled in the background!’, remoteMessage);
});
const unsubscribe = messaging().onMessage(async remoteMessage => {
// Alert.alert(‘A new FCM message arrived!’, JSON.stringify(remoteMessage));
console.log(remoteMessage)
});
return unsubscribe;
}, []);
const checkToken = async () => {
const fcmToken = await messaging().getToken();
if (fcmToken) {
console.log(fcmToken);
Alert.alert(fcmToken);
}
}
return (
<View style={styles.Container}>
<NotificationController />
<Text style={styles.paragraph}> Push Notification With Firebasse Demo </Text>
<Button title=”Get FCM Token” onPress={() => checkToken()} />
</View>
)
}
const styles = StyleSheet.create({
Container: {
flex: 1,
justifyContent: “space-around”,
alignItems: ‘center’
},
paragraph: {
textAlign: “center”,
fontSize: 22,
color: “black”,
fontWeight: ‘bold’,
},
})
export default Pushnotification;
then Run the Program with
npx rect-native run-android
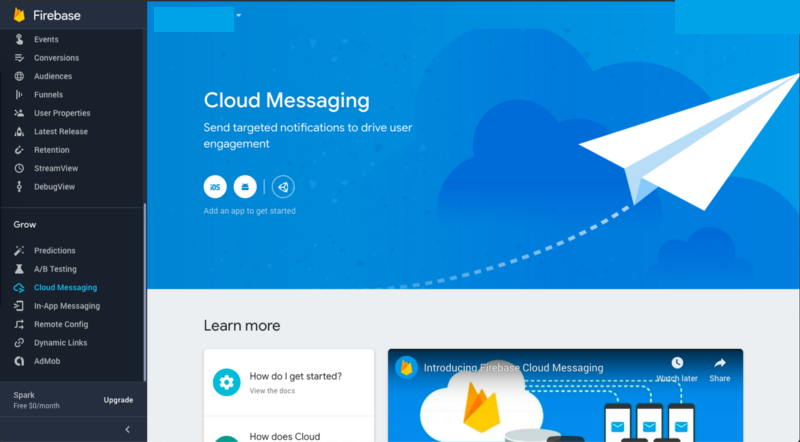
Step 5: Send Push Notifications from FCM
Go to the FCM dashboard to send messages. It is in the Engage>Cloud Messaging section click on compose notification
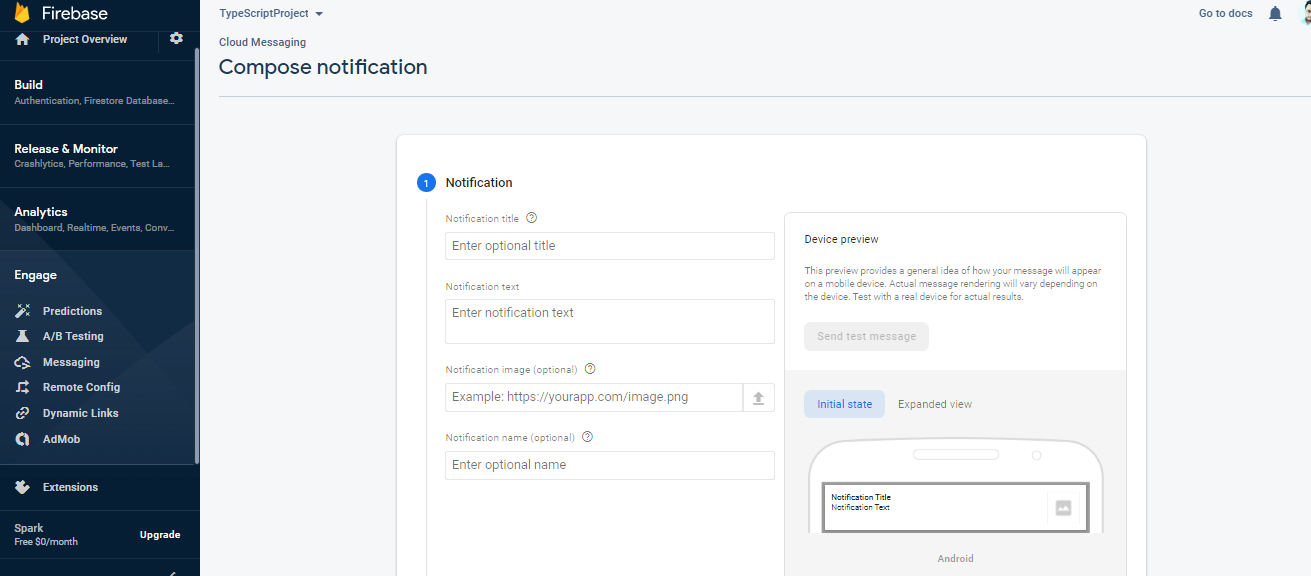
Enter the notification values
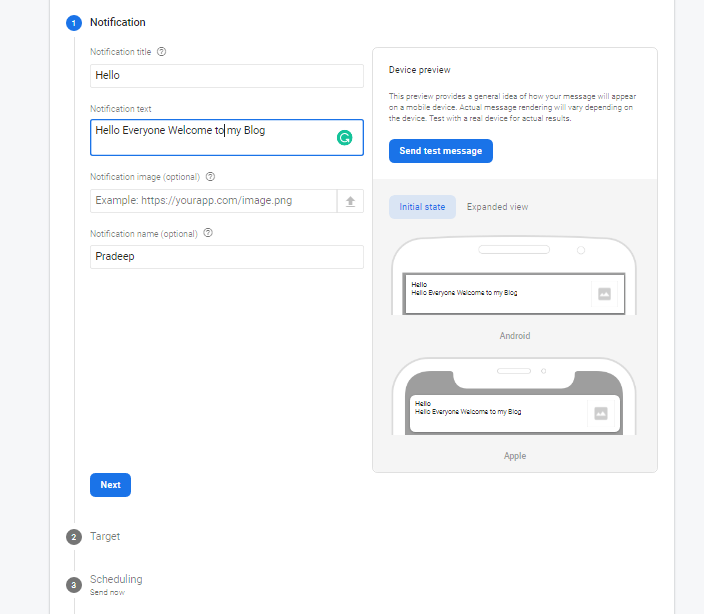
you can also send test message by clicking on Send test Message
now click on Next

you can target your app for push notifications so Select the targets you need and click on next
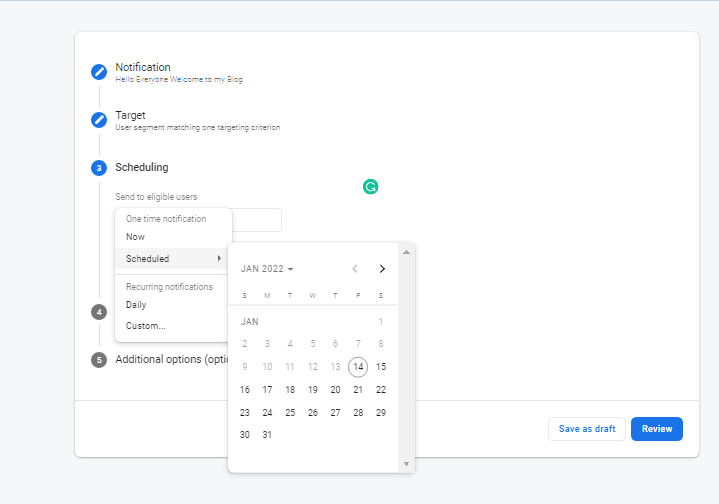
you can Schedule your Push Notification

we can also add Conversion events and additional options. Additional options can be modified according to your requirements. Then, click the review button. Click the publish button in the following popup to send the message according to the settings you provided.
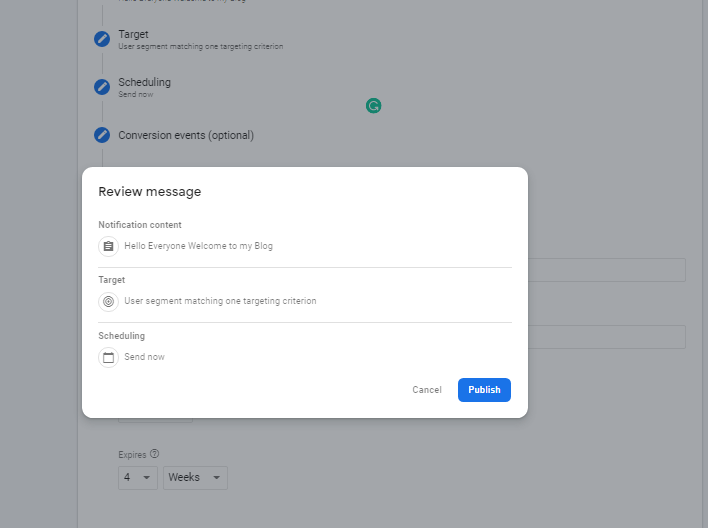
Now click on publish and the push notification will be sent on schedule to the application according to the targeting criteria.
If you enjoyed this article, share it with your friends and colleagues!