Amit Kumar Sanu
AWS Cognito
Last updated  July 19, 2021
Amazon Cognito is a medium that provides authentication, authorization & user management for web & mobile applications.
How It Works

What is the use of Amazon Cognito
- Enhanced Security
- Cross-Platform Consistency
- Guest and Social Media Logins
- MFA and Password Policies
- Marketing Analytics
There two components involve in Amazon Cognito
- User Pools – User pools are user directories that provide sign-up and sign-in options for your web and mobile app users
- Identity Pools – Identity pools provide AWS credentials to grant your users access to otherAWS services
Hands on
Step 1: First you need to build the app for signIn and SignUp so i set up a simple react registration app for the demo purpose. Let’s go VScode and set up the prerequisite thing.

And install the necessary packages.

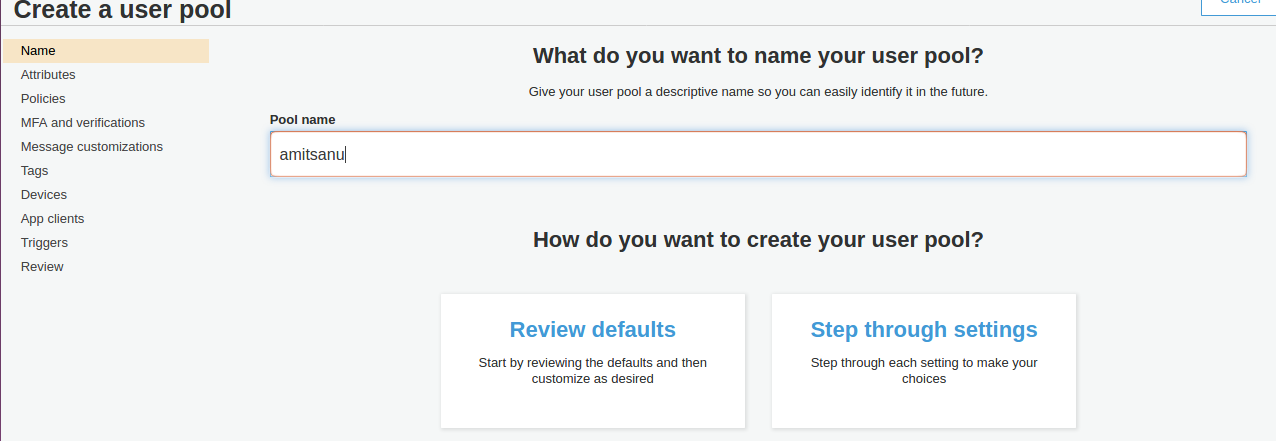
Step2 : Quickly move to the aws cognito and click create a user pool

Step3: Name the Pool name -> step through setting
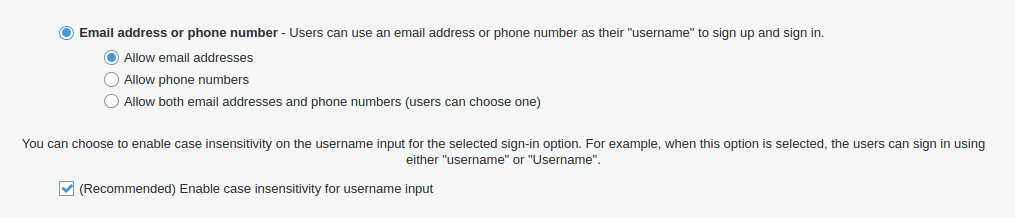
Step4: In setting there several option which we can set accordingly
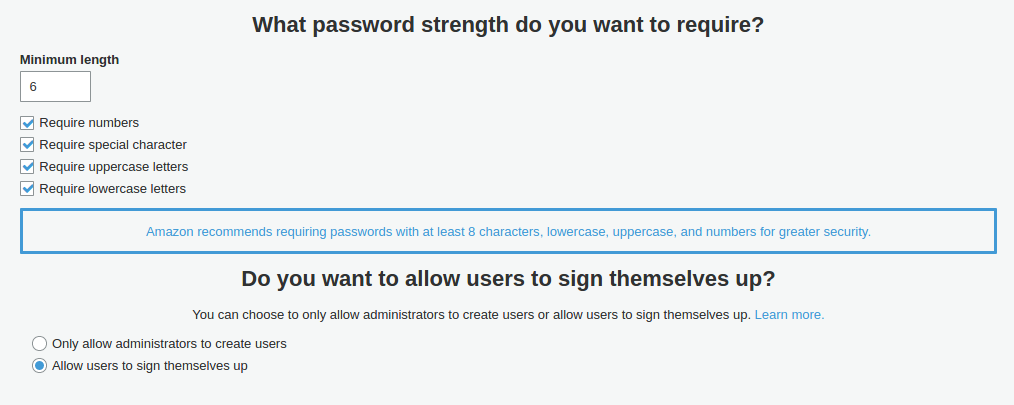
Step 5: Here we can set the password strength configuration -> most important select the Allow users to sign themselves up option otherwise user would not be able sign up only admin can create user which will not good for our scenario
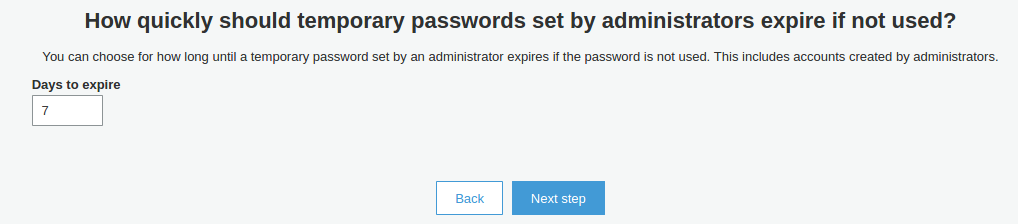
Step6 : set the password expiration time
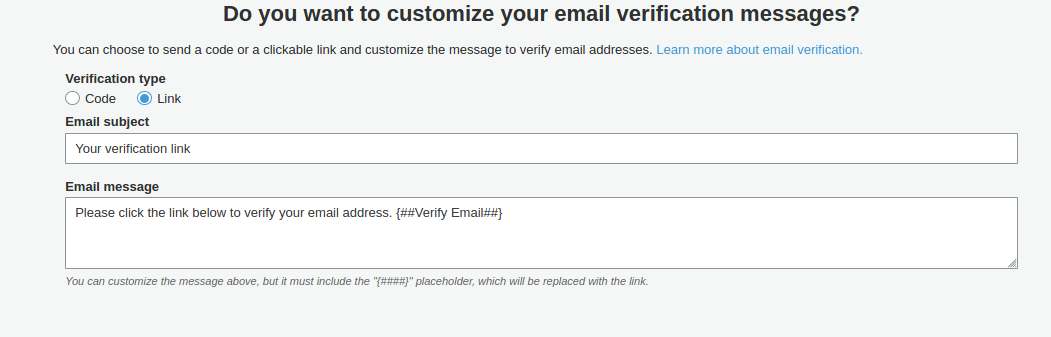
Step 7: Choose the email verification type via link or code
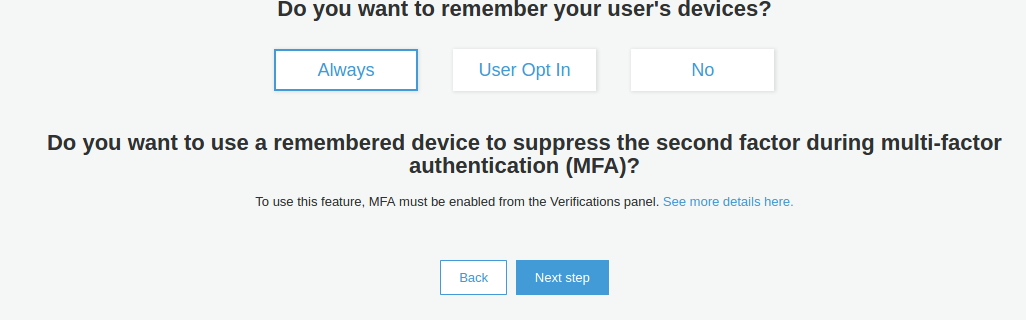
Step 8: To make it simple, select NO.
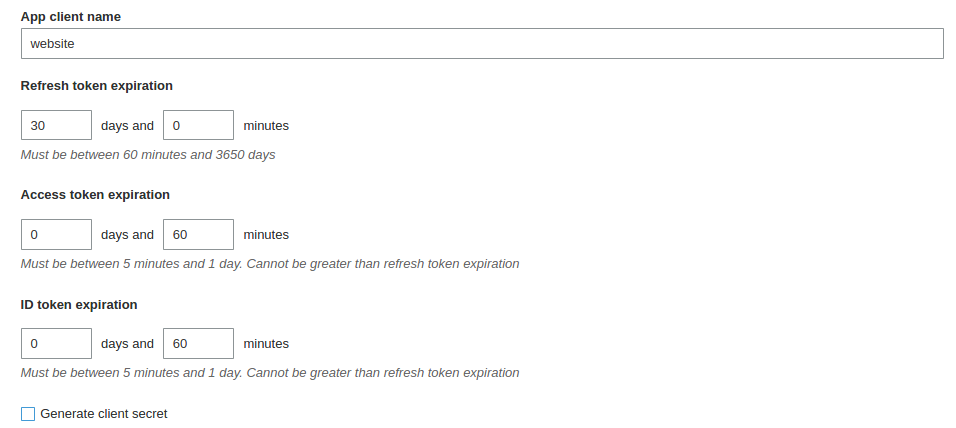
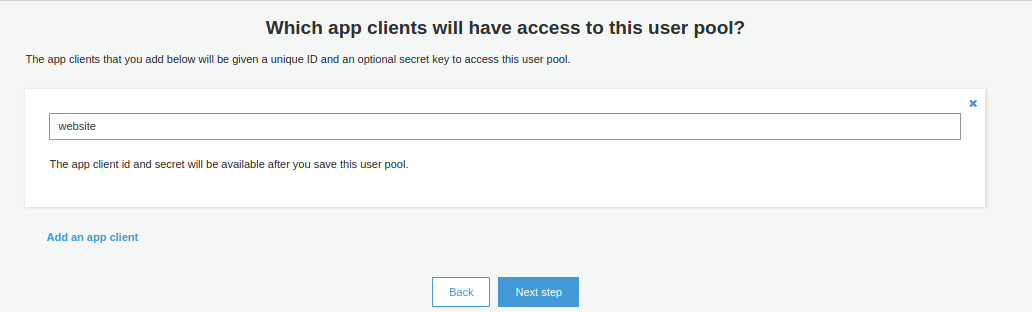
Step 9 : Now Add the app client click on it and fill the detail ->

-> most important point to care here uncheck the Generate client secret
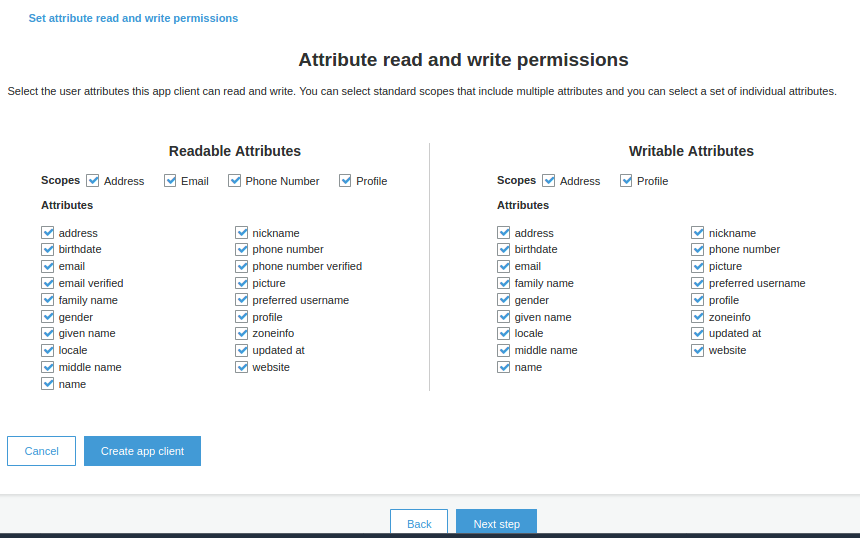
-> Click on set attribute read and write permissions select according to your requirement i am selecting all -> Next
-> Next Step
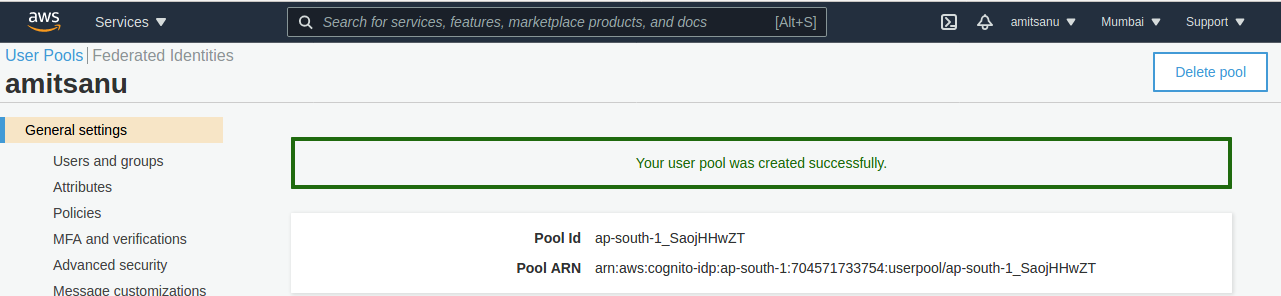
-> pool created successfully
-> Go to Domain name and create the Amazon cognito domain -> enter the domain prefix -> check availablity-> you have Use your own domain option -> you can choose that also -> save changes.

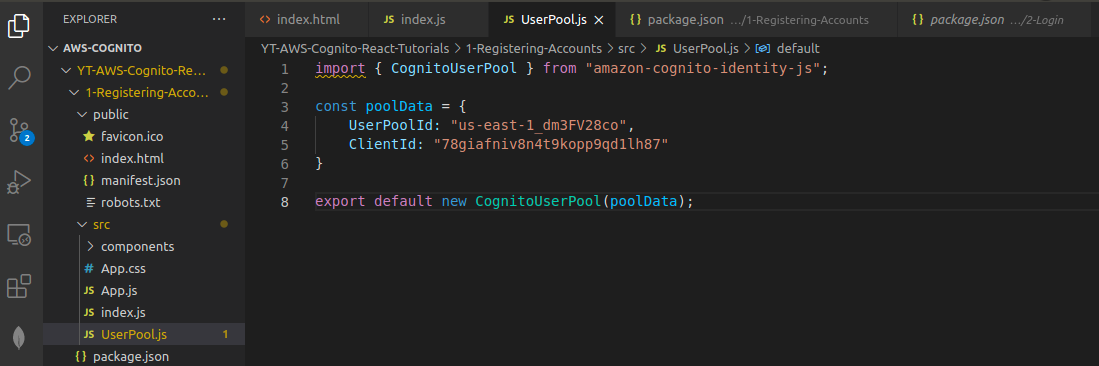
Step 10: Move to VS code in your app code there install one package $ npm i amazon-cognito-identity-js

Step 11: in your userpool.js file import the package and give the ids.
-> you will pool id from General settings

-> and app client id from App client copy from here paste in the userpool.js file

Step 12: Now the run app $ npm start and signUp
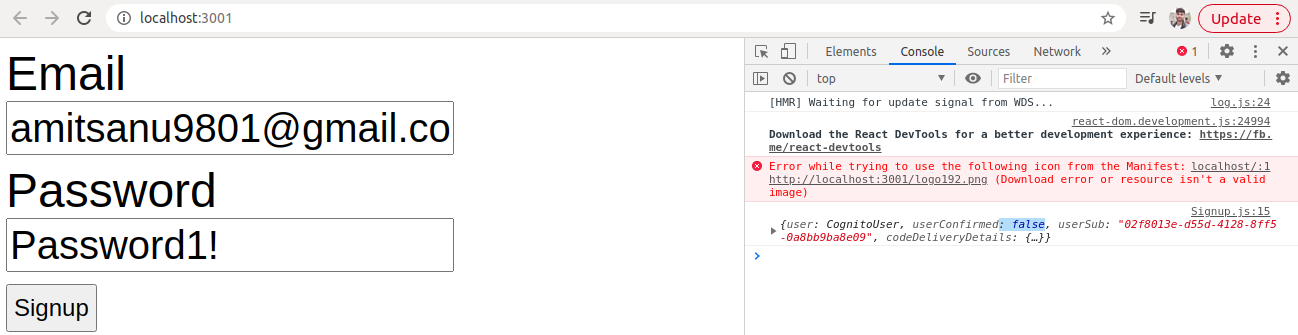
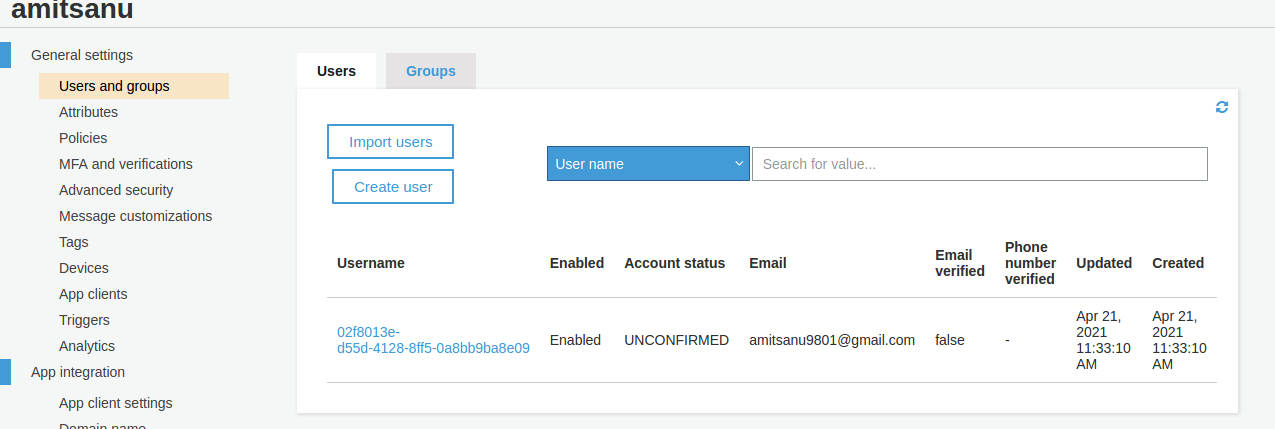
-> you got the user and status also check in Dashboard
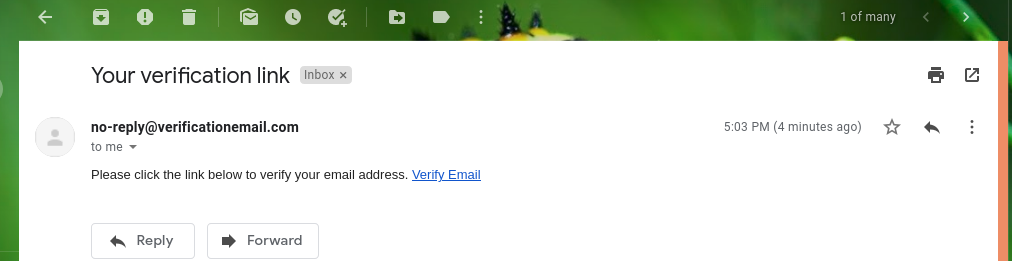
-> check the email inbox -> got the verification link
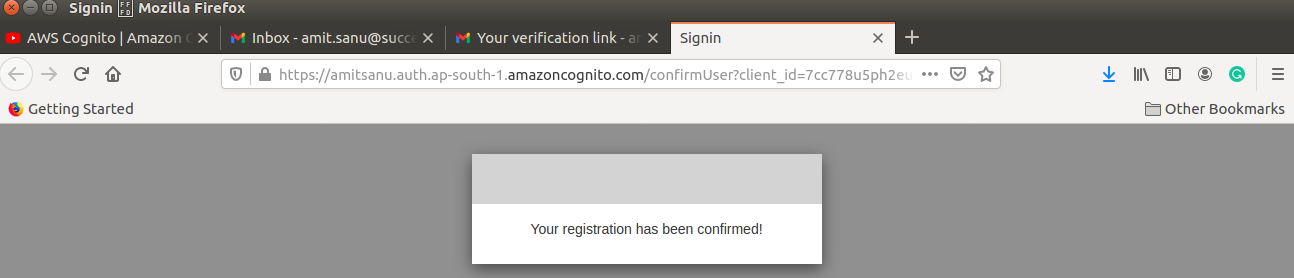
-> click on verify -> registration confirmed
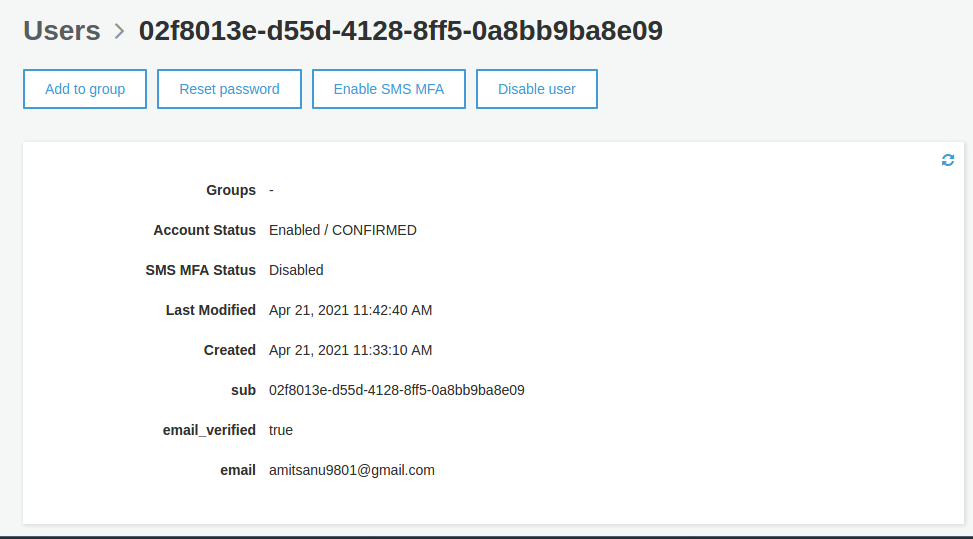
-> and again check the userpool dashboard after verification
-> status confirmed
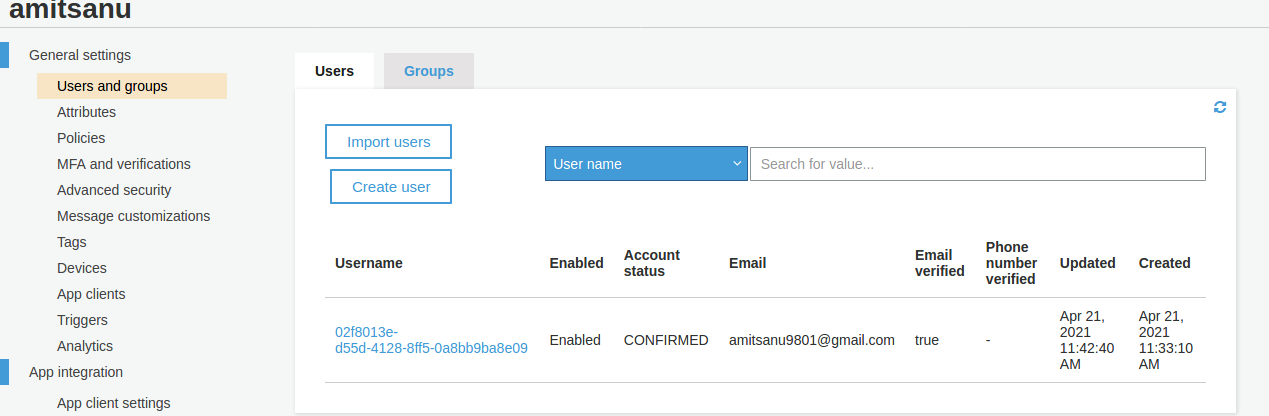
-> you can check the full details of the user by clicking on it.